
Unlock more guides and resources
Stop the Water and Start Drying
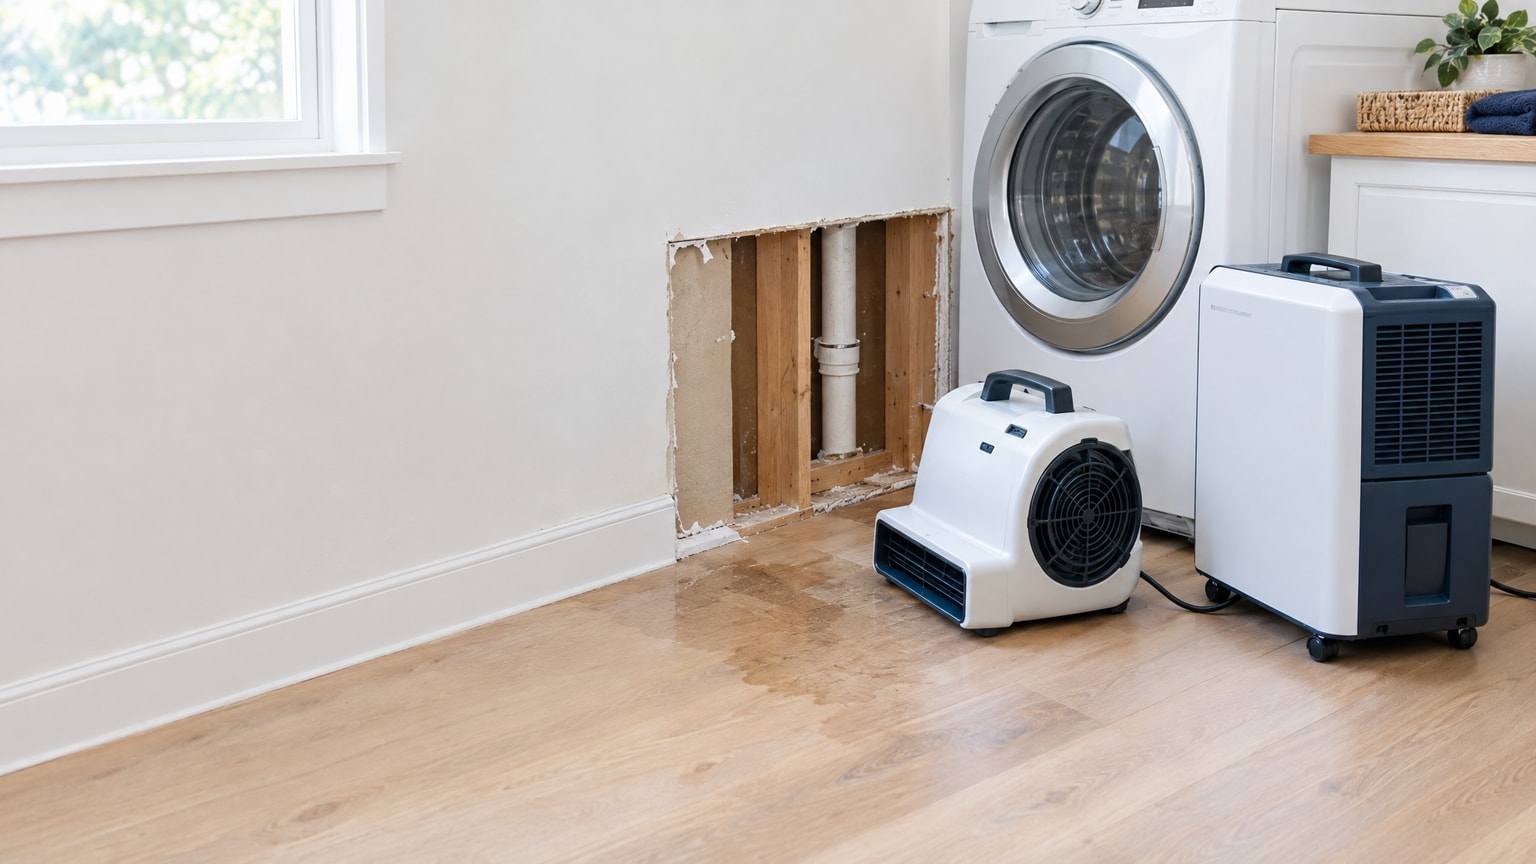
Stop the source if possible, remove standing water, and begin drying as soon as the area is safe. The goal is to reduce moisture in building materials before mold can establish, then verify that hidden areas are drying rather than relying on a dry-looking surface.
If you rent, report the leak in writing and keep photographs, dates, and repair messages. Our renter documentation guide explains how to keep that record organized.
First 24 Hours
- 1
Shut off and verify the source
Stop the leak or shut off water if needed. Do not begin cosmetic repairs until you know the source has stopped.
- 2
Remove standing water
If the water is clean and electrical and structural hazards have been ruled out, use towels, a suitable wet vacuum, or extraction equipment.
- 3
Move contents
Lift furniture and remove wet items for drying. Photograph the area and contents before disposal when documentation may matter.
- 4
Combine the right drying methods
For a clean leak, use a dehumidifier or safe exhaust to remove water from the air and fans to move air across materials. A portable fan moves air but does not remove moisture by itself; open windows only when weather and air quality are suitable and outdoor air will reduce the indoor moisture load.
- 5
Document damage
Take photos and note the source, dates, affected rooms, moisture checks, cleanup decisions, and insurance or landlord communications.
For flood or storm water, the plan changes: CDC recommends fans at a window or door blowing outward to help avoid spreading mold, and says a flooded HVAC system should be checked before it is turned on. Those disaster instructions do not make every clean plumbing leak a contaminated-water event, but they do show why water source and equipment safety must be decided first.
24 to 48 Hours
Drying Priorities
- Remove saturated carpet pad and other porous materials that cannot be cleaned and dried
- Inspect under flooring, behind baseboards, and under cabinets for trapped water
- Use dehumidifiers to pull moisture from the air
- Check hidden spaces like wall cavities, ceilings, under sinks, and behind cabinets
Watch for Red Flags
- Persistent damp smells after drying
- Bubbling paint or swelling drywall
- Moisture readings that stay high or stop trending down
- Water in wall cavities or ceilings
Use a moisture meter as a comparison and trending tool, not as a universal pass or fail test. Take readings at the same material and location, compare them with an unaffected area, and record the date and direction of change. A dry surface or one number does not prove that insulation, a wall cavity, or the underside of flooring is dry. EPA's mold guide specifically calls out hidden areas as a reason to investigate beyond what is visible.
After 48 Hours
- Remove or replace porous materials that remain wet, swollen, or cannot be cleaned and dried
- Inspect for hidden dampness and staining
- Do not paint, caulk, or seal wet or moldy materials
- Consider professional drying if materials remain wet or the source is not resolved
- Monitor humidity levels to prevent re-wetting
After 48 hours, do not assume that mold is present or absent based on the calendar alone. Persistent moisture, swelling, staining, or odor should drive the next step. Use the cleaning versus removal guide when deciding what can be saved, and fix the water source before closing or repainting an area.
When to Call a Professional
- Large area or multiple rooms affected
- Water came from sewage, outside flooding, a backed-up drain, or an unknown source
- Wet insulation, wall cavities, ceilings, or HVAC components
Also pause and get qualified help when you cannot safely access the area, the leak keeps returning, or drying equipment has not brought materials down over time. For flood cleanup, read CDC guidance for returning home after a natural disaster before re-entry, documenting damage, or starting cleanup. For a smaller clean leak, compare the scope and hazards with our DIY versus professional remediation guide.