
Unlock more guides and resources
Washing Machines
Washing-machine supply connections can remain pressurized between cycles, while fill, drain, pump, and door-seal failures may release water during operation. Check the machine manual and make the shutoff valves easy to reach.
Common Failure Points
- Supply hoses: Rubber hoses crack and burst, especially with age
- Fill valve: Stuck valves can cause overflow
- Drain hose: Loose connections or clogs cause backup
- Pump seals: Worn seals leak during cycles
- Door seals (front-load): Damaged gaskets leak
Prevention
- Use manufacturer-approved supply hoses and connectors
- Replace hoses at the interval in the appliance and hose instructions, or sooner if damaged
- Inspect accessible hoses and fittings for bulges, cracks, corrosion, kinks, or dampness
- Exercise accessible shutoff valves as their manufacturer directs; repair valves that do not close reliably
- Use a drained pan, leak alarm, or automatic shutoff appropriate to the location
- Stay where you can respond while the washer is running
Dishwashers
Common Failure Points
- Door gasket: Worn or damaged seals allow water to escape
- Supply line: Connections under the sink can loosen or corrode
- Drain connection: Where drain hose meets disposal or drain line
- Spray arm: Cracks can misdirect water
- Float switch: If stuck, water can overflow
Safe Observations
- Look for dampness: Check accessible flooring, cabinet areas, and the door edge for dampness, standing water, residue, or corrosion after use
- Observe the gasket and connections: Note visible cracking, debris, looseness, or a leak-alarm alert without removing panels or connections
- Notice drainage changes: Record unusual sounds, incomplete draining, or recurring water and compare them with the appliance instructions
- Respond promptly: Stop using the appliance and arrange qualified appliance or plumbing help when water is recurring, connections are corroded, or a leak cannot be isolated safely
Manual- and Code-Dependent Work
Cleaning cycles, filter or drain access, drain-hose routing, high-loop or air-gap requirements, and connection repairs vary by dishwasher model and installation. Follow the exact appliance manual and applicable plumbing code; use a qualified appliance or plumbing technician when the instructions are unclear or work requires moving the unit.
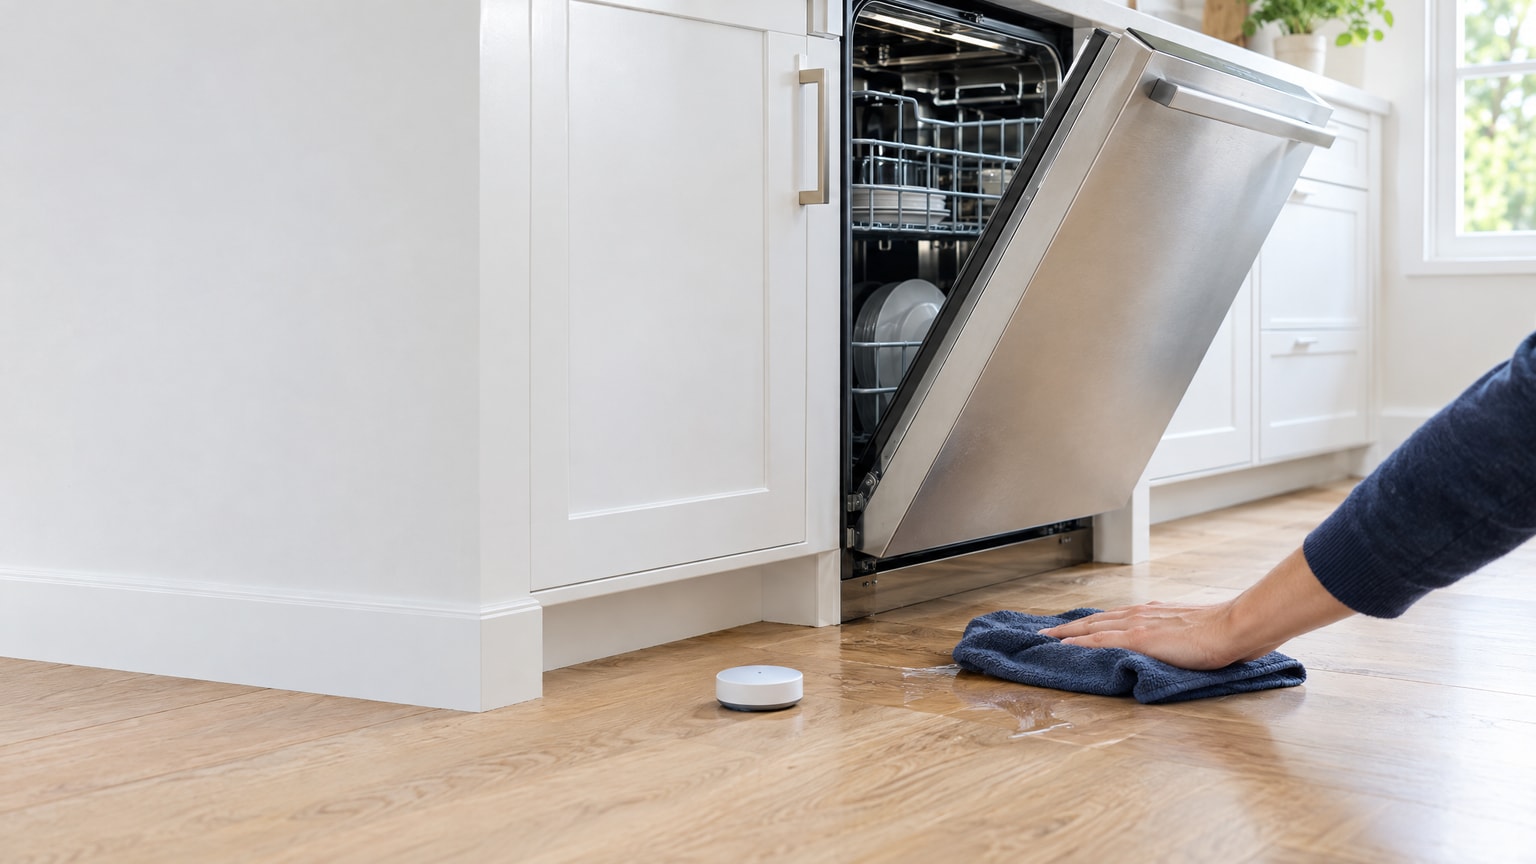
Many dishwasher leaks occur slowly under the unit, damaging flooring before they are noticed. Consider placing a water leak detector under or behind the dishwasher.
Water Heaters
Storage water heaters contain a substantial volume of hot water under pressure, so a failed tank, fitting, or relief discharge can release water quickly. Tankless units remove stored-water volume but do not eliminate leaks or component failures. Service life and maintenance depend on the model, water chemistry, installation, and manufacturer guidance.
Warning Signs of Failure
- Rust-colored water from hot water taps
- Rumbling or popping sounds (sediment buildup)
- Water pooling around the base
- Moisture or corrosion on fittings
- Water or corrosion at the temperature-pressure-relief discharge or its pipe
- A leak-detector or other installed alarm alert
Protection and Qualified Service
- Contain possible leaks: Use a drain pan and routed drain where the installation and local code call for them; a pan does not repair a leaking heater
- Follow the model instructions: Flushing, anode inspection or replacement, temperature settings, and other service vary by product and water conditions; use the manufacturer guidance or a qualified technician
- Protect against scalding: Temperature-pressure-relief discharge can be dangerously hot. Do not lift or test the relief lever as a generic maintenance step; follow the exact manual and local requirements or have a qualified technician do it
- Plan from evidence: Consider condition, corrosion, leak history, model guidance, and a qualified assessment rather than a universal replacement age
- Understand tankless limits: Tankless equipment removes stored-water volume but still has fittings, valves, heat exchangers, and controls that can leak or fail
- Install a leak detector: Use an alarm or automatic shutoff appropriate to the location and follow its product instructions
For installation or replacement decisions, see ENERGY STAR water-heater installation guidance and the current instructions for the specific unit.
Refrigerators
Water Sources in Refrigerators
- Ice maker supply line: Small copper or plastic tube to water supply
- Water dispenser: Additional supply connection and internal lines
- Defrost drain: Can clog and overflow
- Condensation: Poor door seals cause excess condensation
Observation and Model-Specific Work
- Observe accessible areas: Look for dampness, standing water, residue, corrosion, or a leak-detector alert at the floor and supply connection
- Use the specified connector: Select the supply line and fitting type permitted by the refrigerator manual and the plumbing installation; a braided line is not universally required or leak-proof
- Check the gasket: Look for visible gaps, damage, or condensation and use the refrigerator instructions for adjustment or replacement
- Drain service varies: Defrost-drain access and cleaning methods are model-specific; follow the manual or use a qualified appliance technician
- Get help for access: Have a qualified technician move or service the appliance when the connection is inaccessible, corroded, or still leaking
- Consider a leak detector: Place one where the product instructions and safe access allow
Refrigerator leaks often go unnoticed because they are behind the unit. Water can damage flooring and seep into walls before any visible signs appear. Investigate when you see dampness, corrosion, standing water, or an alarm, and use the product manual or qualified help for work that requires moving or opening the appliance.
HVAC Systems
Air conditioning systems produce condensate that must drain properly. Clogged drain lines and failed condensate pumps are common causes of water damage, particularly in attics where AC air handlers are often located.
Common HVAC Water Issues
- Clogged condensate drain: Algae and debris block the line
- Failed condensate pump: If gravity drain is not possible
- Frozen evaporator coil: Ice melts and overwhelms drain
- Leaking drain pan: Rust or cracks in the pan
- Improper installation: Drain line not properly sloped
Safe Observations
- Look for water: Observe dampness, standing water, corrosion, or overflow around accessible pans, lines, and pump areas
- Watch drainage: Note blocked or slow condensate drainage, water at an unintended outlet, or a float-switch or leak-alarm alert without opening electrical or refrigerant components
- Check the filter: Inspect its condition and replace it only as the equipment manual directs; restricted airflow is one possible contributor to coil icing, not a complete diagnosis
- Respond to recurring water: Turn the equipment off if the manual or alarm directs you to do so and arrange qualified HVAC service
Manual- and Technician-Dependent Service
- Drain-line cleaning: Use only the access point, cleaning method, and interval specified by the equipment manufacturer; ask a qualified HVAC technician when the instructions are unavailable or the line is blocked
- Condensate protection: Secondary pans, float switches, pump service, drain slope, and discharge termination depend on the equipment, installation, and local code
- Diagnose the cause: A qualified technician should evaluate repeated clogs, frozen coils, pan corrosion, pump failure, or improper drainage rather than relying on a generic recipe or calendar
See our HVAC and duct mold guide for more information on preventing mold in HVAC systems.
Smart Leak Protection
Modern technology makes it possible to detect leaks immediately and even shut off water automatically before major damage occurs.