Why Drywall Is Vulnerable to Mold
Drywall (also called gypsum board or sheetrock) is particularly susceptible to mold growth for several reasons:
Porous Structure
Drywall is highly porous, meaning water and mold can penetrate deep into the material rather than staying on the surface.
Paper Facing
Standard drywall has paper on both sides. Paper is an excellent food source for mold, providing the organic material mold needs to grow.
Absorbs Moisture
Drywall readily absorbs water from leaks, flooding, or high humidity. Once wet, it dries slowly and provides ideal conditions for mold.
Hidden Cavities
Mold often grows on the back side of drywall (facing the wall cavity), where it cannot be seen from inside the room.
Surface Mold vs. Penetrating Mold
The key decision factor for drywall is whether mold has only affected the surface or has penetrated into the material:
Surface Mold
May Be Cleanable
- Light discoloration on painted surface
- Mold wipes off easily
- Drywall feels firm and solid
- No water damage or staining
- Caught early (days, not weeks)
Penetrating Mold
Requires Removal
- Visible growth on paper backing
- Drywall feels soft or crumbly
- Water staining present
- Musty odor persists after cleaning
- Mold returns after cleaning
When Cleaning May Work
Cleaning drywall is only appropriate in limited situations:
- Mold is limited to a very small area (a few square inches)
- Growth is only on the painted surface, not the paper
- Drywall is completely dry and structurally sound
- The moisture source has been fixed
- You caught the problem within days of moisture exposure
Surface Cleaning Steps
- 1
Fix the moisture source
Cleaning is pointless if the area will get wet again.
- 2
Protect yourself
Wear gloves, eye protection, and an N95 respirator.
- 3
HEPA vacuum the surface
Remove loose spores before wet cleaning.
- 4
Clean with detergent
Use a damp cloth with mild detergent. Do not soak the drywall.
- 5
Dry completely
Use fans and dehumidifiers to dry the area quickly.
- 6
Monitor for return
If mold returns, the drywall needs replacement.
When Replacement Is Required
Drywall must be removed and replaced when:
- Mold has penetrated into the paper backing
- The drywall was wet for more than 24-48 hours
- The material is soft, warped, or crumbling
- Mold is visible on the back side (wall cavity side)
- The affected area is larger than about 10 square feet
- Mold returns after surface cleaning
- There is visible water damage or staining
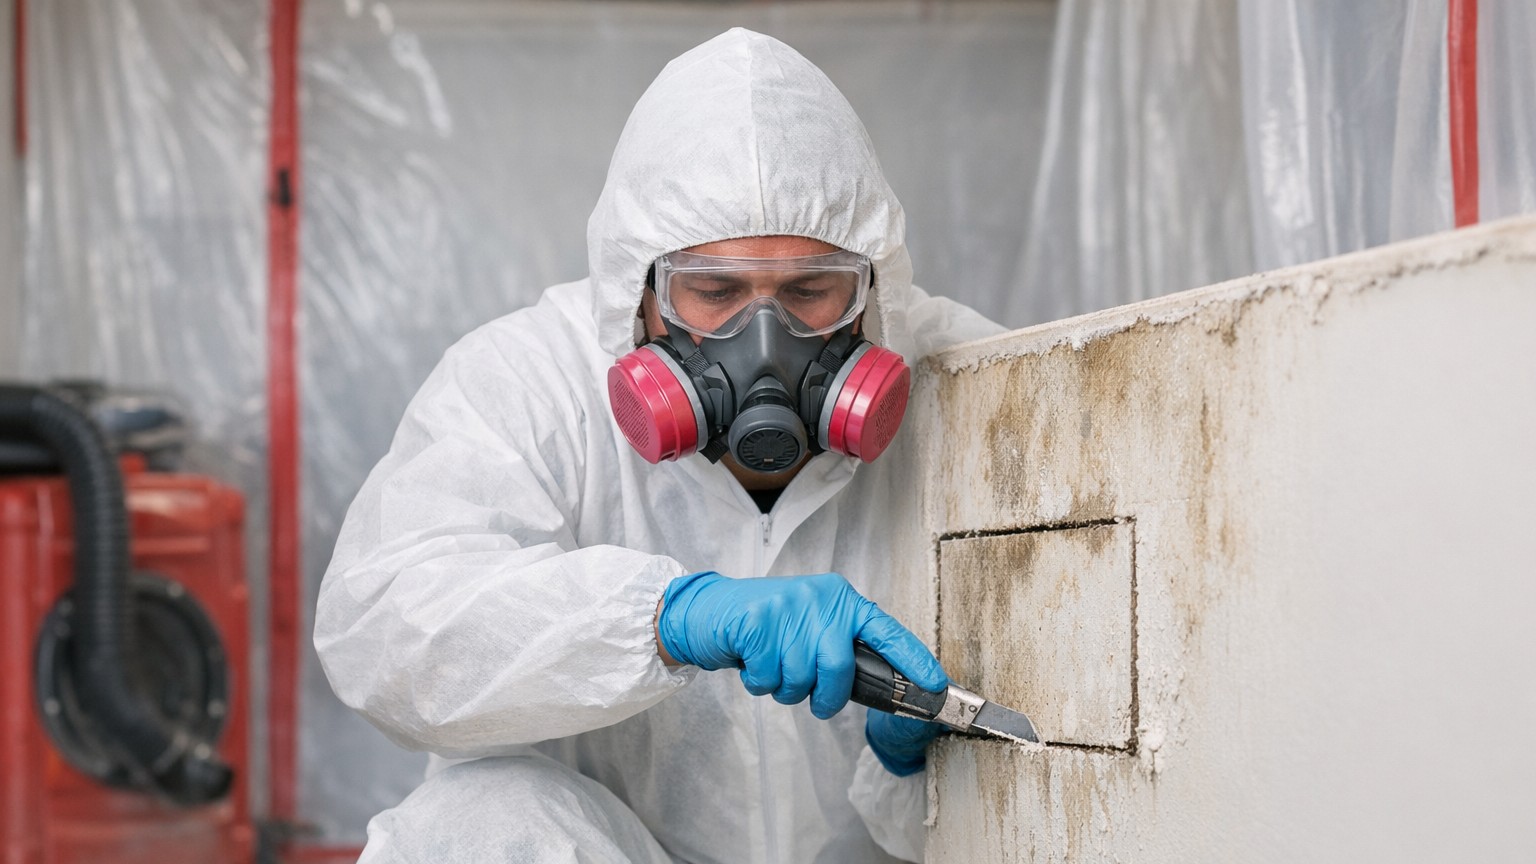
Cut-and-Replace Procedures
Proper drywall removal requires careful technique to minimize spreading mold spores:
- 1
Set up containment
Seal off the work area with plastic sheeting. For larger projects, establish negative air pressure.
- 2
Protect yourself
Wear an N95 or P100 respirator, gloves, and protective clothing.
- 3
Mist lightly with water
Lightly dampening surfaces reduces airborne spores during removal.
Matching Textures and Finishes
After drywall replacement, matching the existing wall finish can be challenging:
Common Textures
- Smooth (no texture)
- Orange peel (subtle bumps)
- Knockdown (flattened splatter)
- Popcorn (acoustic ceiling texture)
- Skip trowel (layered plaster look)
Matching Tips
- Practice texture on scrap drywall first
- Match the original application method
- Prime and paint to blend repairs
- Consider retexturing the entire wall for seamless results
- Hire a drywall finisher if matching is difficult
For extensive repairs, it may be easier to skim coat and retexture an entire wall or room rather than trying to blend patches into existing texture.
Common Drywall Mold Mistakes
- Painting over mold without proper cleaning or removal
- Using bleach (does not penetrate porous materials effectively)
- Cleaning mold that has penetrated into the paper backing